I've been meaning to decorate some picture frames for ages. I've always loved frames and old photos and having been inspired by Hels over on
Ink on my fingers and her crackled frames, I thought I got to give it a go. Let me tell you now, it wasn't easy!!! To cut a long story short, I spent a whole day painting and re-painting some frames (cheapy ikea and other wooden frames) and spraying endless amounts of glitter mists and perfect pearls only to end up with some hideous frames. So that's when I decided to paint over them with a thin layer of my base colour, in this case an umber acrylic paint. And immediately the frames looked so much better.
I tried to take the photo on the left in the sunshine so you can see the glimmery shine on it, but not sure you can tell too well.
This is the blue frame. Im not even sure how it ended up blue, I have no blue glimmer mists nor crackle paint nor anything blue. Must just be a mixture of all those layers of mists and paints and stuff!
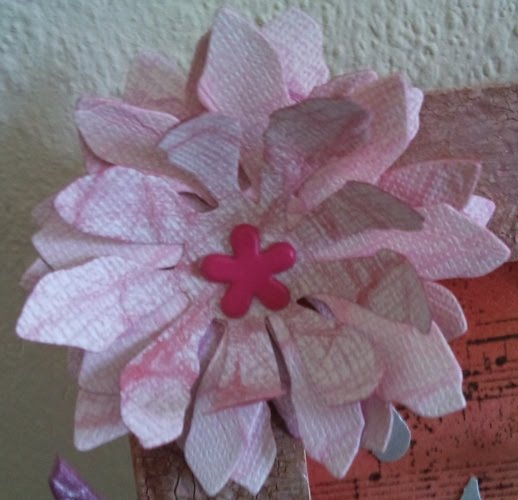
It's my mum's birthday this weekend so I made her a little frame of fun. I'm very pleased with it. Again I have to give Hels some credit for inspiration that comes from her blog.
This is being entered into the
Sir Stampalot Challenge as my second entry. The theme is Butterflies and Blossoms so I think it's perfect.

This is the pink frame. I know why it ended up pink. I used bronze crackle paint and it looked really patchy. So i painted the whole thing in the crackle paint and sprayed vast amounts of red glimmer mist on it. (I think less is more here!!!) It looked awful. A thin layer of the base paint over the top rescued it and then i got some white acrylic paint and dry brushed over the crackly patches which picked them up really nicely. some glimmer mist over the top and this time i dried it with a heatgun as i went along (this was advice from Hels again) and it soaked nicely into the crackles. Done.

As for this one, I eventually emailed Hels and she had some more tips for me (and she also said shes doing a tutorial on this at
Gingersnap Creations, so check it out when it goes up) I painted on an umber base. Then I did an even layer of old paper crackle paint, a little thicker in places. A mixture of walnut stain ink with golden perfect pearls was sprayed over and dried with the heatgun. Then again I picked up the crackle patches with a bit of drybrushing. And there we go. Didnt take a whole day and now I know what I'm doing. So it was definitely worth the effort. And all I can say is, give it a go. Even if it doesn't look right the first time round, just keep at it!!!